This girly room is all done except for hanging the curtains. Even the rods are up. We are right there people! I will do my best to get pictures and everything I need up before it's time to go out of town this afternoon. In the meantime, I wanted to share a tutorial of how I spruced up some inexpensive bulletin boards yesterday.
I have had this fabric saved for something special for over two years now. So I finally bust it out and got going!
Supplies:
- bulletin board-I got mine at Walmart for about $7
- ironed{!} fabric
- spray adhesive
- old credit/gift card
- staple gun
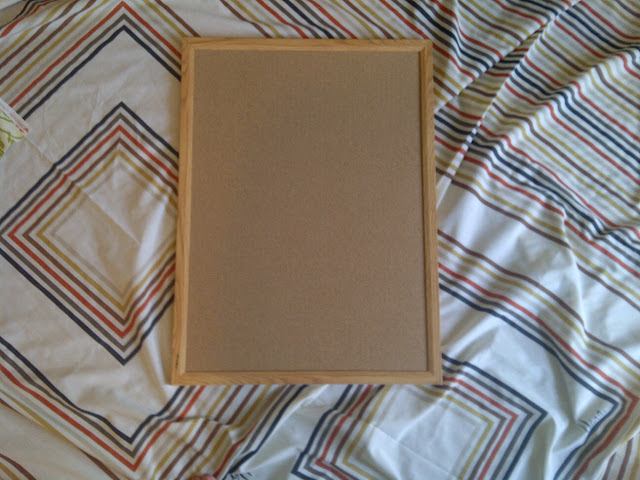
Start with a plain cork board
Lay your ironed fabric down and cut to fit around cork board. I left a good 1-1 1/2 inches just to wrap all the way around.
Start on the bottom and spray just the cork about 4 inches up the width of the cork. Pull the fabric gently and smooth upward on the cork. Making sure any creases are pulled out and fixed right away. Crease the edges really well. Repeat toward the top until all the cork is covered.
My hand looks fa-reaky!
Next spray one edge at a time. Pull fabric tight as you lay it down. Use that baja card {or whatever you have} to get all the edges, make sure everything is nice and tight.
Then, carefully fold the edges and staple each corner on the back. And spray the back of the molding so the fabric lays down flat.
Blurry...sorry.
This project was SOOOO much easier than all those other bulletins I've done over the last little while. I was able to do two in about 45 minutes start to finish. Not bad.
I really loved how they turned out!
Next I'm going to hang them with some command adhesive strips and then they will be filled with lots of 6 year old art and memories!


so cute! I need to make myself a couple, thanks for sharing :)
ReplyDeleteLove them!
ReplyDelete